
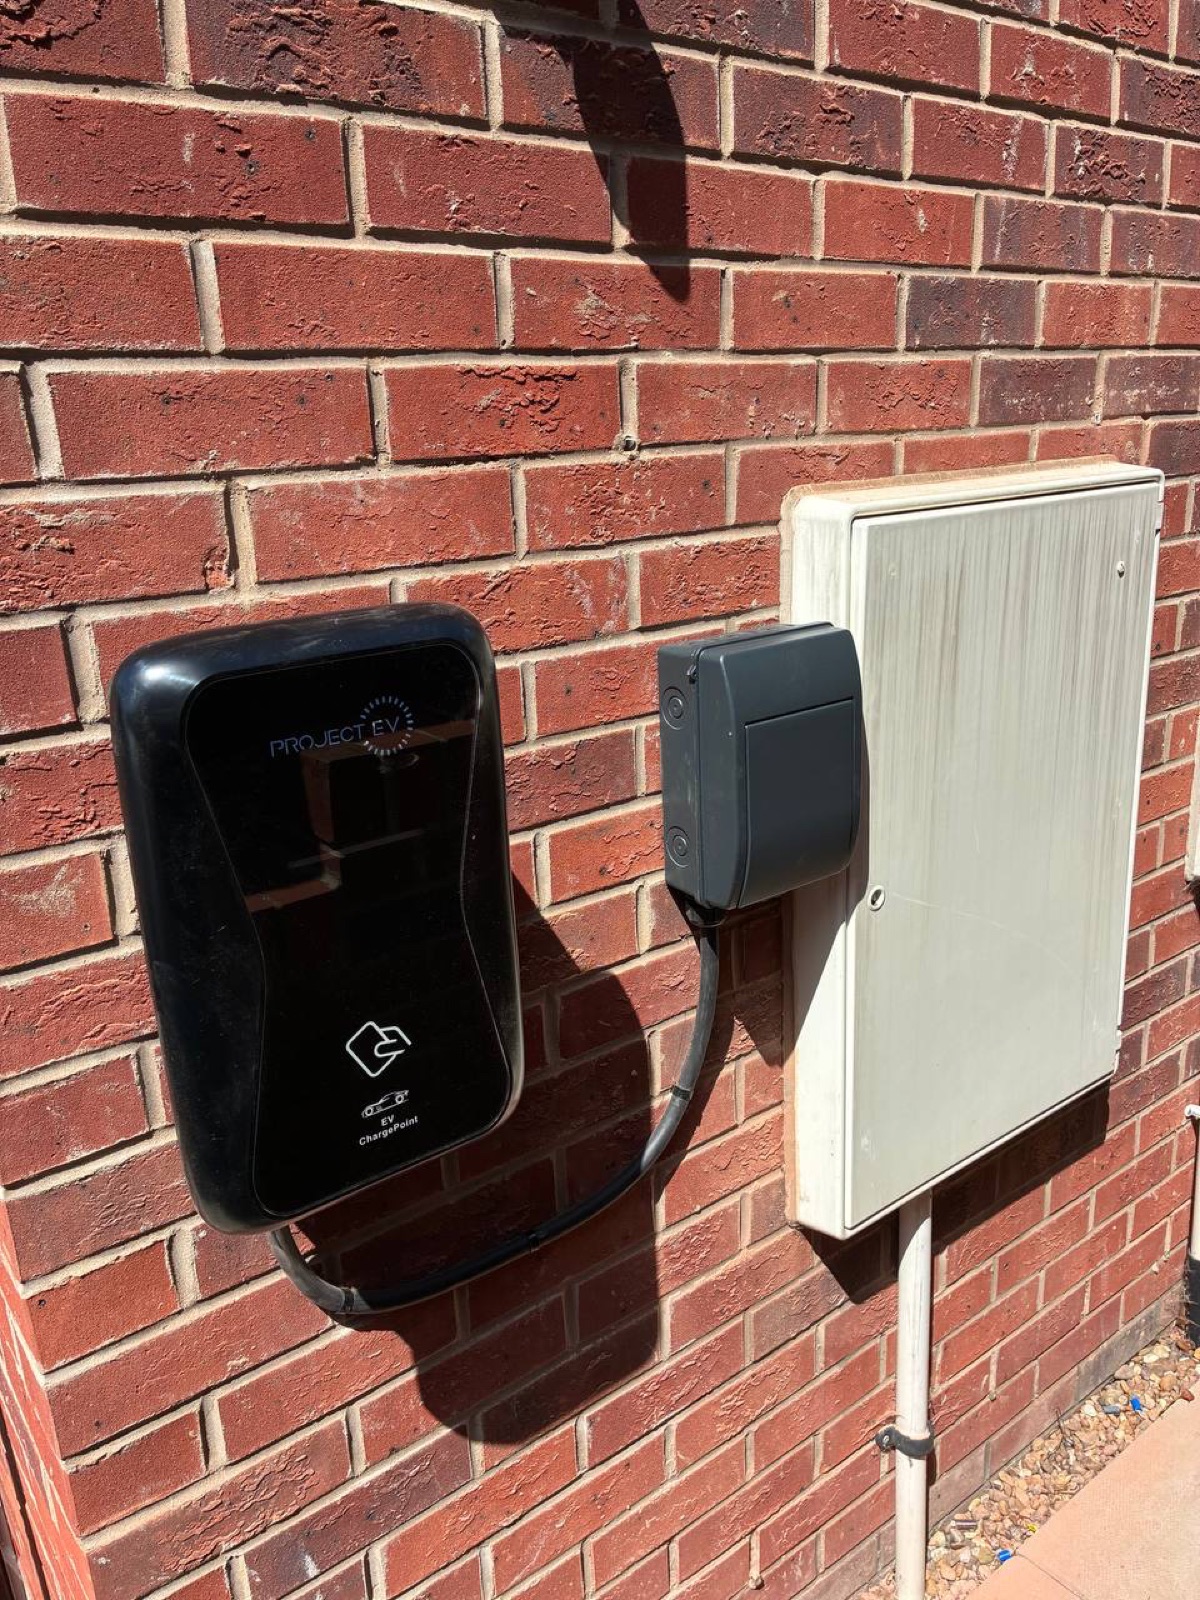
1. Choose the right charger
E-Fix will help you choose a charger that suits your car, tariff, parking position and any solar or battery plans. The design also checks how open-PEN protection will be provided—either built into the charger or by suitable separate protective equipment—to disconnect the charge point if a dangerous supply fault is detected.
2. Check the electrical supply
E-Fix will check the consumer unit, earthing arrangement, main fuse, available capacity and likely charging load before agreeing the installation. Load management may be recommended where the house supply needs it.
3. Plan a neat cable route
The cable route needs a solid surface wherever the cable or conduit is fixed. E-Fix uses LINIAN SuperClips to produce a secure, discreet finish. Where the wall allows, the fixing holes sit in the mortar joint rather than the brick face, avoiding holes through the visible brickwork.
Some installations need trench work to reach a detached garage, post or parking area. E-Fix will talk you through the practical route, finish and any groundworks before the installation is agreed.
4. Fit, test and hand over
After installation, the charger is tested and handed over so you understand app setup, smart charging features and basic use.
5. Certificates and National Grid
Relevant electrical certificates and Building Regulations compliance paperwork are provided after completion. E-Fix will also handle the application and notify National Grid where required.